Get started with Dexie in React
Dexie v3.2 and later comes with reactivity built-in.
In version 3.2 we've introduced live queries - queries that observe the result and make your component mirror the data in real time.
If a change is made (by the app itself or from an external tab or worker), a binary range tree algorithm will efficiently detect whether those changes would affect your queries and if so, re-execute your callback and re-render component.
Here's a simple ToDo app example that demonstrates it.
useLiveQuery() can be explained like this: It observes the result of a promise-returning function that queries Dexie (In contrast to just execute it imperatively).
It is highly composable as you can call other functions that queries dexie and compute a result based on their outcome.
Maybe you already have some functions you wrote long time ago.
Calling them from within the scope of the callback passed to useLiveQuery() will turn your imperative async functions into an observable query.
1. Create a React project
Here we refer to React's own Getting Started page.
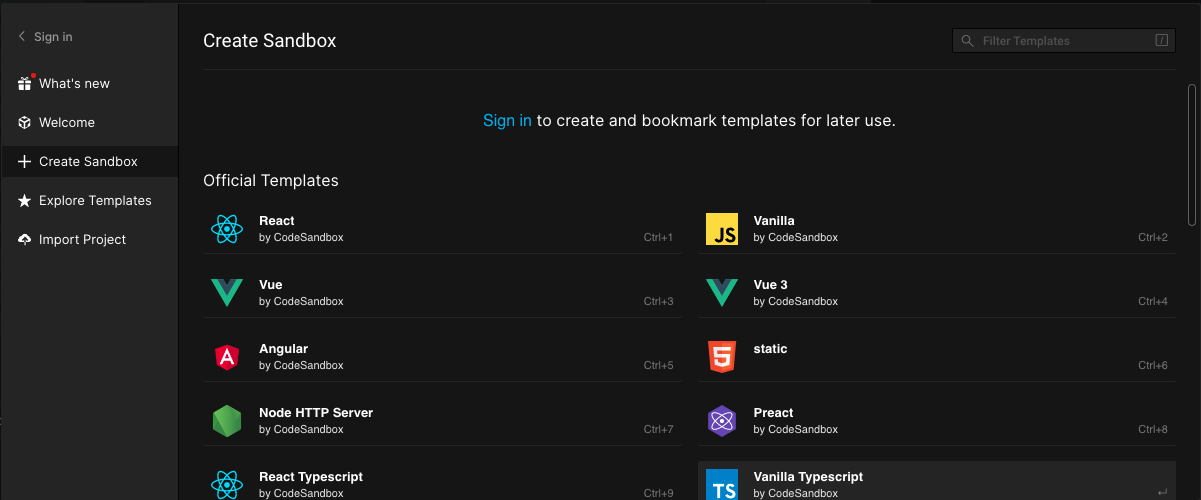
For the impatient one, use CodeSandbox to create a React app and start code editing in your browser.
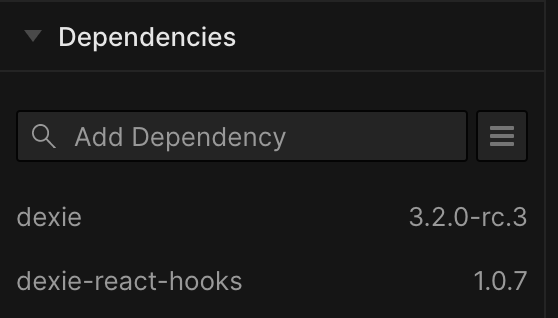
2. Install dependencies
yarn
yarn add dexie
yarn add dexie-react-hooks
npm
npm install dexie
npm install dexie-react-hooks
CodeSandbox
3. Create a file db.js (or db.ts)
Applications typically have one single Dexie instance declared as its own module. This is where you declare which tables you need and how each table shall be indexed. A Dexie instance is a singleton throughout the application - you do not need to create it on demand. Export the resulting
db instance from your module so that components or other modules can use it to query or write to the database.// db.js
import { Dexie } from "dexie"
export const db = new Dexie("myDatabase")
db.version(1).stores({
friends: "++id, name, age", // Primary key and indexed props
})
Using Typescript?
If you use Typescript, table properties (such as
db.friends) needs to be explicitly declared on a subclass of Dexie just to help out with the typings for your db instance, its tables and entity models.// db.ts
import { Dexie, type EntityTable } from "dexie"
interface Friend {
id: number
name: string
age: number
}
const db = new Dexie("FriendsDatabase") as Dexie & {
friends: EntityTable<
Friend,
"id" // primary key "id" (for the typings only)
>
}
// Schema declaration:
db.version(1).stores({
friends: "++id, name, age", // primary key "id" (for the runtime!)
})
export type { Friend }
export { db }
4. Create a component that adds some data
Writing to the database can be done using Table.add(), Table.put(), Table.update() and Collection.modify() - see Dexie's quick reference for examples. Here we're gonna create a simple React component that allows the user to add friends into the database using Table.add().
export function AddFriendForm({ defaultAge } = { defaultAge: 21 }) {
  const [name, setName] = useState("")
  const [age, setAge] = useState(defaultAge)
  const [status, setStatus] = useState("")

  async function addFriend() {
    try {
      // Add the new friend!
      const id = await db.friends.add({
        name,
        age,
      })

      setStatus(`Friend ${name} successfully added. Got id ${id}`)
      setName("")
      setAge(defaultAge)
    } catch (error) {
      setStatus(`Failed to add ${name}: ${error}`)
    }
  }

  return (
    <>
      <p>{status}</p>
      Name:
      <input
        type="text"
        value={name}
        onChange={(ev) => setName(ev.target.value)}
      />
      Age:
      <input
        type="number"
        value={age}
        onChange={(ev) => setAge(Number(ev.target.value))}
      />
      <button onClick={addFriend}>Add</button>
    </>
  )
}
5. Create a component that queries data
Write a simple component that just renders all friends in the database.
export function FriendList() {
  const friends = useLiveQuery(() => db.friends.toArray())

  return (
    <ul>
      {friends?.map((friend) => (
        <li key={friend.id}>
          {friend.name}, {friend.age}
        </li>
      ))}
    </ul>
  )
}
To make more detailed queries, refer to Dexie's quick reference for querying items.
Notice two things here:
- The function passed to useLiveQuery() queries dexie for all friends.
- The result will be undefined momentarily before the very initial result arrives - which explains why we refer it as
friends?rather thanfriends.
6. Pass some query params
Let's improve the FriendList component and allow a parent component to pass some props that we use from within the query.
This time let's also use async / await (for pedagogical reasons only - it makes it simple to extend the function to do more queries if needed).
export function FriendList({ minAge, maxAge }) {
  const friends = useLiveQuery(
    async () => {
      //
      // Query Dexie's API
      //
      const friends = await db.friends
        .where("age")
        .between(minAge, maxAge)
        .toArray()

      // Return result
      return friends
    },
    // specify vars that affect query:
    [minAge, maxAge]
  )

  return (
    <ul>
      {friends?.map((friend) => (
        <li key={friend.id}>
          {friend.name}, {friend.age}
        </li>
      ))}
    </ul>
  )
}
Notice two things in the above example:
- We pass two arguments to useLiveQuery(): the async function and the deps. The callback is just a plain async function that can compute any type of result based on what it queries. It can use Promise.all() to query things in parallel or query things sequentially after each other. Any Dexie-call along the way will be marked for observation. In any case the end result will become observed.
- Deps are needed when the querying function uses closures that affect the query. In this case the minAge and maxAge parameters. A parent component may pass new values for it and that needs to be detected and make our query reexecuted.
7. Put it together
export const App = () => (
  <div>
    <h1>My simple Dexie app</h1>

    <h2>Add Friend</h2>
    <AddFriendForm defaultAge={21} />

    <h2>Friend List</h2>
    <FriendList minAge={18} maxAge={65} />
  </div>
)
When running this example, notice that adding friends within the given age range will make them show up instantly in your view.
Things to play with
Test out how to edit query parameters and watch the live results update, or open up app in several windows and see them instantly reflect the changes from the other window...
Make query parameters editable
Add a new component that allows the user to specify
minAge and maxAge and pass those into the props to <FriendList>. You will notice that updating the props will also be instantly reflected in the query results of your app.Run app in multiple windows
Open your app (or for example this one) in multiple new windows and watch them react to each other's changes.
NOTE: IndexedDB is tied to using same browser and same origin. Sync across different origins, browsers, clients and users is another topic and requires a sync solution. If you're interested, have a look at what's coming in Dexie Cloud.
Observe joined data
Do something similar to this sample and observe the result of a function similar to
getBandsStartingWithA() (a function that compose a result from multiple related queries). Notice that any change that affects any of the queries will make the component rerender, including the related data.# More Samples and Resources
- A simple ToDo list (Stackblitz)
- Read the docs for useLiveQuery()
- Read the general docs for Dexie.js.
Next Steps: Add Sync
Built something you like? Dexie Cloud adds real-time sync, authentication, and access control — with just a few lines of code. Your app keeps working offline and syncs automatically when back online.